News/Articles
I Once Set Up a Google Alert for a Client’s Obituary
I once set up a Google alert for a client’s obituary. I’m not a monster. Let me explain. Frank His name was Frank. He lived in one of those zip codes where the lawns are immaculate and the cars never have door dings and everyone is someone’s Paw-paw. He was an artist — a real…

Should Links Open in a New Tab? (Spoiler: No.)
Every few months, a client emails me with the same request: “Can you make all our external links open in a new tab? I don’t want people leaving the site.” I get it. You worked hard on that website. You don’t want visitors wandering off into the wilds of the internet, never to return. Forcing…
It’s not just dentists. The internet wasn’t exaggerating. And this is kind of a big deal.
A client reached out recently after seeing a wave of social media videos warning that dental office websites might not be ADA compliant. She wanted to know if it was real or just the internet being dramatic again. (Name withheld to protect the curious. Not because of HIPAA. Probably not HIPAA. But it felt responsible.)…
A Practical Website Accessibility Checklist for Real-World Use
If you’ve spent more than five minutes looking into ADA or website accessibility, you’ve probably realized how quickly it turns into a rabbit hole. There’s a lot of theory, a lot of technical language, and not a lot of clear direction for what actually matters on a typical business website. This is not a perfect,…
The “Oh Crap” Website Checklist
We’re all busy. And if your website is working, it’s usually the last thing on your mind. Most people only think about their website when there’s a problem, when there’s a new product, or when something big changes in the business. Otherwise, it’s out of sight, out of mind. I like to think of my…

I Just Cleaned the Kitchen. Again.
Right before Christmas, Kevin had umbilical hernia surgery. He’s fine now. Let’s start there. He’s good. He’s moving around. He’s starting to do normal things again. No long-term drama. But recovery did not go the way either of us assumed. Sure, I’ve taken care of him when he’s been sick before. That kind of sick…
Frozen Toast, AI, and Other Modern Horrors
A couple weeks ago I went to a professional conference and saw something genuinely chilling. No, it wasn’t a Halloween costume. I watched a live demo of how to scare off every client in the room. I attended a panel on book cover design & illustration—right up my alley. I’ve done plenty of book covers…
Photoshop Isn’t Magic, Kid: This Logo Belongs in a Museum
The email came with an attachment called logo.jpg. I opened it. The file was 200 pixels wide. About the size of a fingernail on screen. The client’s note: “Can you sharpen this up for a ten-foot banner?” I wrote back: “This logo is too small to enlarge.” They replied: “Try anyway.” I knew it wouldn’t…

Making the Internet a Better Place (One Comment at a Time)
The other day, I had an interesting exchange on my blog. A reader—let’s call him Fred (because that’s literally his name)—left a pretty harsh comment on an old article of mine. He was frustrated, tired of low-quality posts he’d found elsewhere, and decided mine was guilty by association. He accused me of false advertising and…
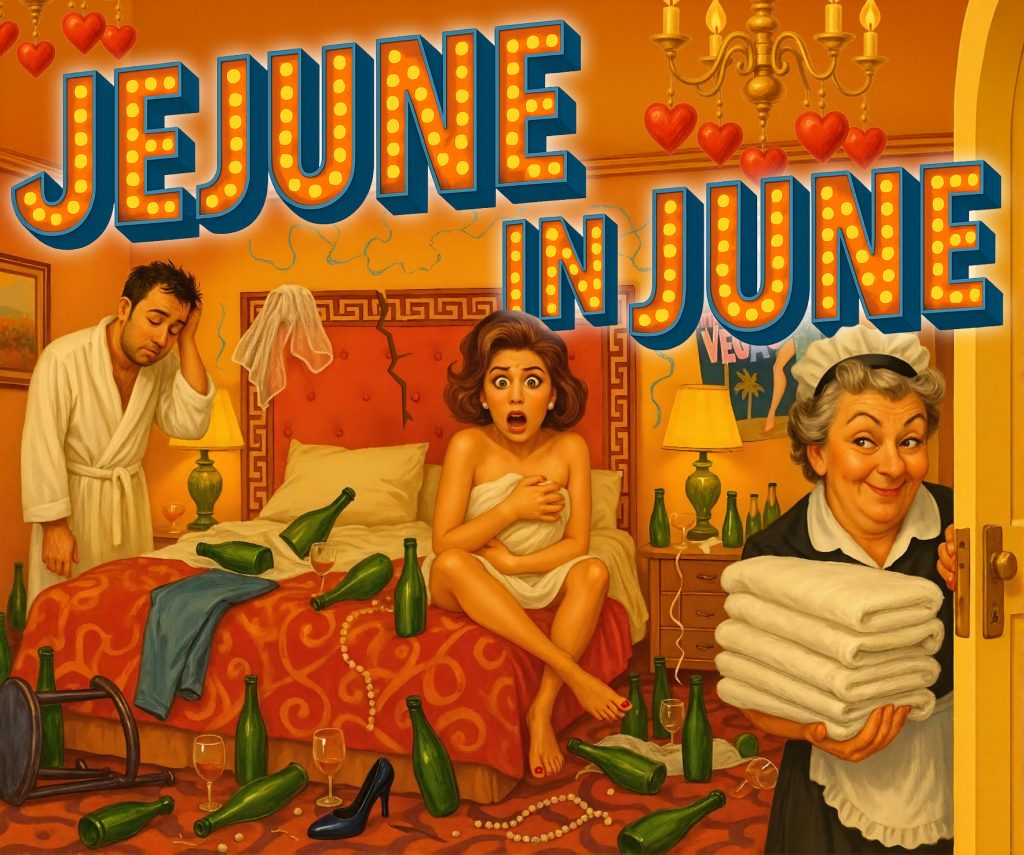
Client Spotlight: Jay Huling and the Comedic Poster
One part of my job I enjoy most is helping tell a story before anyone speaks a word on stage. That’s what I get to do when I work with American playwright, Jay Huling. Jay writes fast, sharp comedies with strange turns and just enough absurdity to keep you guessing. His latest play takes place…